Overview
You can now test connectors in your CyberArk Certificate Manager - SaaS production environment. With a tenant-specific connector, tenants can develop their own personal connectors (that are inaccessible by other tenants). This gives you the confidence to ensure your connectors work properly in a production environment before you release them to your customers. At the end of this walkthrough, you will:
- Create a custom connector by building a manifest via the simulator environment.
- Use Certificate Manager - SaaS APIs to create that same connector in your tenant "production" environment. This environment is ONLY available to you; no one else can view this.
- Modify your connectors as you see fit (e.g., create, update, and delete your connectors).
- Exclude connectors (optional)
📘 Note Only a system administrator or a PKI administrator can create a connector.
Before you begin
Ensure you have the below prerequisites before starting this procedure.
- An active instance of Certificate Manager - SaaS
- A free 30-day trial account may be requested at: https://venafi.com/try-venafi/try-venafi/
- An active account in an API platform for building and using APIs, such as Postman.
How do I get started?
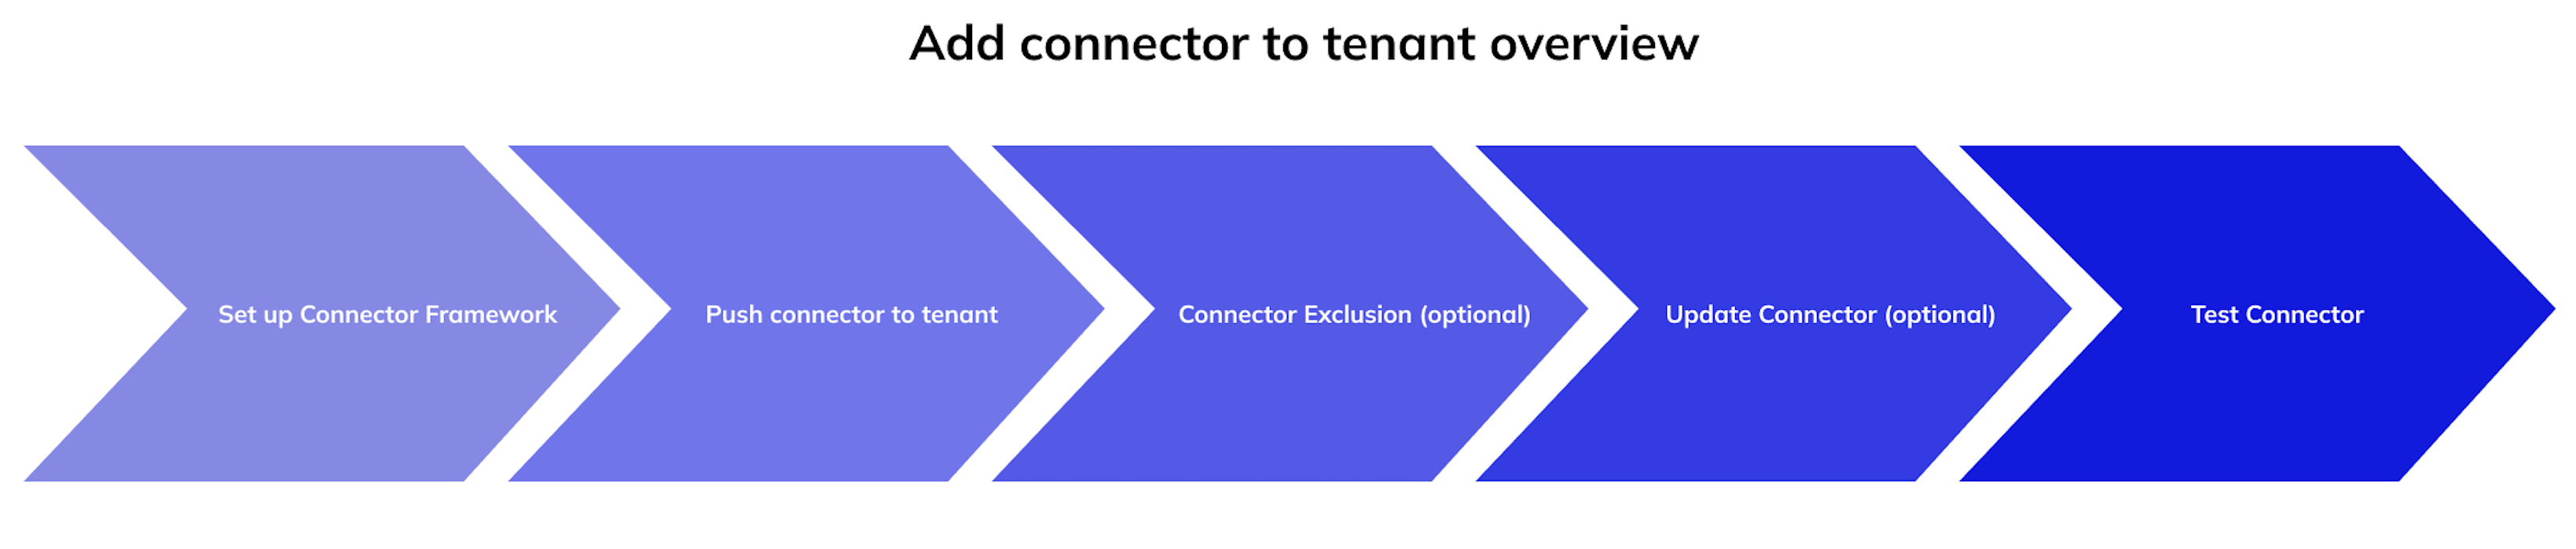
- Set up Machine Connector Framework - Use the Machine Connector Framework guide to set up your developer environment and build your connector code in the simulator environment.
- Push connector to tenant - Use the APIs below to push your connector to your tenant production environment.
ℹ️ API descriptions
v1/plugins- This API allows you to create a new custom connector in your tenant environment.v1/plugins/{id}- This API facilitates updating or deleting your custom connector specified by ID./v1/plugins/{id}/disablements- This API allows you to exclude plugins you do not want to see, or reintroduce them back into your tenant environment.v1/plugins/disablements- This API allows you to retrieve all the plugins set to be excluded for your tenant.
- Update connector - (Optional) You can update, delete, or exclude connectors.
- Test connector - This is where you validate that you can see your new connector in your tenant via your machines page.
Step 1: Set up Machine Connector Framework
Use the Machine Connector Framework guide to accomplish the following:
-
Set up your developer environment - Download and unzip the
sample-push-connectortemplate. Follow the walk-through of how to build and run a local sample connector. -
Design the UI (front-end) - You will be provided with a default manifest editor. This environment allows you to develop and validate your data. You also have a manifest reference, which allows you to customize your manifest to fit your needs.
-
Build connector code (back-end) - Create the web-service back-end connector code using the files from the
sample-push-connectortemplate. -
Test E2E - Test end to end via the manifest editor and the VenProxy simulation utility. The VenProxy simulation utility creates the bridge from the simulation environment to your locally connected developer environment. This is where you validate that your front-end UI on the manifest editor is connected via the VenProxy simulator to your back-end connector code.
Step 2: Push connector to tenant
Once you have completed building and testing your connector via the simulation utility, you are ready to push the connector to your tenant production environment. Use a tool such as Postman to push your connector to your tenant.
ℹ️ Tip Remember to update the
tppl-api-keyvariable with your personal Certificate Manager - SaaS API key in Postman.
📘 Note Only you will have visibility to this connector; your tenant-specific connectors are not accessible or visible to other tenants.
-
Copy the plugin that you created in the manifest editor over to Postman. You will need to add the following areas based on your desired outcome:
pluginType- Options include MACHINE, CA, CREDENTIAL_MANAGER, TPP.name- Enter any name desired to identify the plugin.workTypes- Options include DISCOVERY, CREDENTIAL, PROVISIONING, ISSUANCE, and CERTIFICATE_IMPORTCertificate.deployment- Include yourimagelocation,executionTarget(currently, VSatellite is the only option available), andworkTypes.
🚧 Important It is important to note that
workTypesare relative to thepluginType.
- if
pluginType== MACHINE:workTypescan be PROVISIONING or DISCOVERY.- if
pluginType== CA:workTypescan be CERTIFICATE_IMPORT or ISSUANCE.- if
pluginType== TPP:workTypescan be ISSUANCE.- if
pluginType== CREDENTIAL_MANAGER:workTypescan be CREDENTIAL.
See the following example:
{
  "maintainer":"string",
  "manifest":{
    "deployment":{
      "executionTarget": "vsat",
      "image": "string"
    },
    "description": "string",
    "name": "string",
    "pluginType": "MACHINE",
    "workTypes": [
      "Discovery"
    ]
 ,}
 "pluginType": "MACHINE"
}
- Execute the
POST v1/pluginscommand to initiate the creation of a new plugin.
See the following example of this section:
{
    "name": "VMware NSX Advanced Load Balancer (AVI)",
    "description": "",
    "workTypes": [
        "PROVISIONING",
        "DISCOVERY"
    ],
    "pluginType": "MACHINE",
    "domainSchema": {
      ...
    },
    "localizationResources": {
        "en": {
          ...
        }
    },
    "hooks": {
      ...
    }
}
Check the response in the body of Postman to confirm the successful creation of your plugin.
- Execute the
GET v1/pluginscommand to verify that your plugin has been successfully added to your tenant.
See the following example of this section:
{
    "plugins": \[
        {
            "name": "VMware NSX Advanced Load Balancer (AVI)",
            "description": "",
            "workTypes": [
                "PROVISIONING",
                "DISCOVERY"
            ],
            "pluginType": "MACHINE",
            "domainSchema": {
      ...
            },
            "localizationResources": {
                "en": {
          ...
                }
            },
            "hooks": {
      ...
            }
        }
    ]
}
Step 3: Test connector
Your connector can be tested via your tenant UI. Use the following steps to verify that your plugin has been successfully added.
- In the Certificate Manager - SaaS toolbar, click Installations > Machines.
- Click New.
- Enter a Name for the new machine. This name will help Certificate Manager - SaaS users to identify this machine.
- Select a VSatellite. If you don't currently have a VSatellite, deploy a VSatellite first, and then return to this page.
- Select an Owning Team. If you need to create a new team see, create a new team.
- Select the Machine type you want to create, and then click Next.
📘 Note You should see your newly created connector in this drop-down list.
Depending on the type of machine you are creating, follow the instructions here to Test Access.
Step 4: (Optional) Connector disablement
Here, you have several options to disable your connector, depending on your desired outcome.
-
Execute the
POST /v1/plugins/{id}/disablementsendpoint to disable a specific plugin you no longer want to see in your tenant. -
Use the
DELETE /v1/plugins/{id}/disablementsendpoint to reverse the disablement of a particular plugin, making it visible again in your tenant. -
Use the
GET v1/plugins/disablementsendpoint to retrieve a list of all plugins set to be disabled for your tenant.
Step 5: (Optional) Update connector
At this point, you can determine if you want to update or make changes to the plugin. This may include changing the plugin's name or the image location, adding different workTypes, and more.
- You can execute the
PATCH v1/plugins/{id}endpoint to make updates by ID.
See the following example of this section:
{
    "manifest": {
        "name": "VMware NSX Advanced Load Balancer (AVI) -- revision 2",
        "description": "",
        "workTypes": [
            "PROVISIONING"
        ],
        "domainSchema": {
      ...
        },
        "localizationResources": {
            "en": {
          ...
            }
        },
        "hooks": {
      ...
        }
    }
}
- You can execute the
DELETE v1/plugins/{id}endpoint to delete a plugin by ID.
🥇 Congratulations, you have built and pushed your new connector to your tenant. Now that you have completed this, do you want to take the next step and learn about our Connector program for Certificate Manager - SaaS?